Using SwiftUI in Command Line Tools
One of the greatest advantages of using Swift for building tools, is the familiarity you might already have with it. From the standard library to Foundation, or language features and patterns you like using, there is another benefit you can leverage: using system frameworks, including UI frameworks.
In a talk I had the opportunity to present earlier this year, I demoed a tool that applies a badge to iOS app icons.

In that case, it used AppKit classes to perform the text drawing in a colored background. It used NSImage, NSAttributedString attributes, NSRects. But there is one thing I had forgotten. While AppKit is a battle tested framework, and it worked great, SwiftUI is more approachable, making it easier to achieve simple things due to its declarative nature. If you have worked with it on iOS, or even just played around with it, you can benefit from it in a command line tool.
import SwiftUI
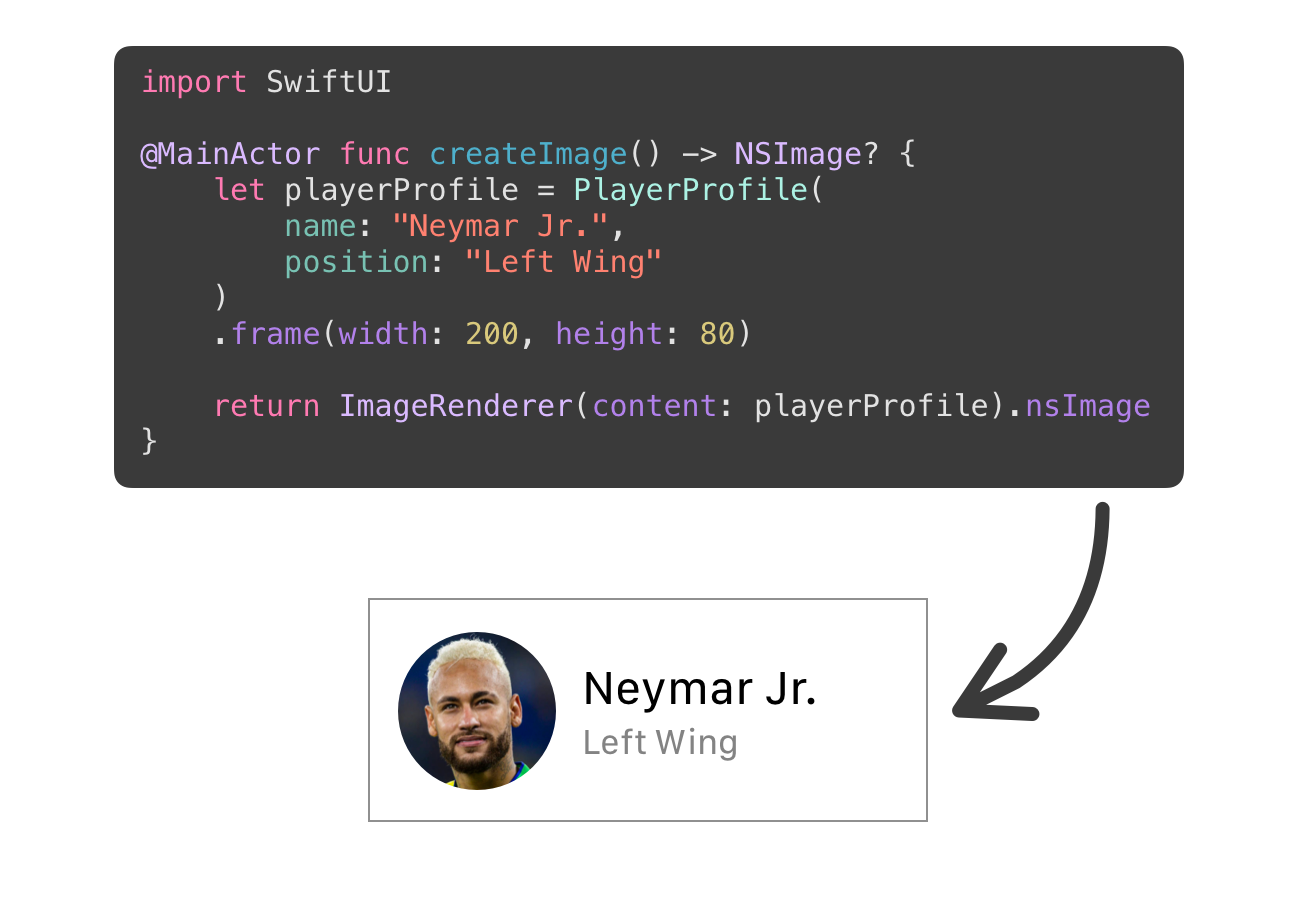
In 2022, with iOS 16 and macOS Monterey, SwiftUI introduced a new class: ImageRenderer. It allows exporting any View as an image, and its API is concise and intuitive. It turns out this can be very useful for this use case!

If you can make sure your tool runs on a macOS machine (locally or CI), and not on Linux or Windows, then you can import SwiftUI and use it even from the command line.
Sample tool: badgeify
Taking the example mentioned in the introduction, this article will explore how you can use SwiftUI to apply badges to an app icon.
To get started, you can download the sample project:
Start by double clicking the Package.swift file to open the package in Xcode. Then, look for badgeify.swift in the Sources directory, the entry point of the executable. You can see that it contains three Options, all of them required:
- An input path of the original icon
- An output path, where the badged icon will be saved
- The text to be applied as the badge
In the run() method, you can see that 3 main things happen: first, try to load the image from the input path. After that, apply the badge using the NSImage.applyBadge(text:) extension method, and convert it to png data. Finally, save it to the disk to the outputh path.
You can explore the other files and see that there are other types and functions ready.
Applying the Badge with a View
Open the NSImage+badge.swift file. Notice how there is an extension on NSImage, with the applyBadge(text:) function, which was left empty. Before implementing it, first create a view that will add the text on top of the original image. Add the following code to the bottom of the file:
// 1
struct Icon: View {
    let image: NSImage
    let badgeText: String

    // 2
    var body: some View {
        ZStack {
            Image(nsImage: image)

            // 3
            VStack {
                Spacer()

                // 4
                Text(badgeText)
                    .font(.system(size: 140, weight: .medium, design: .rounded))
                    .frame(maxWidth: .infinity)
                    .padding([.top, .bottom], 100)
                    .background(Color.yellow.opacity(0.7))
            }
        }
        .background(Color.white)
    }
}
There are a lot of lines here, but it is not that scary:
- Define a struct that conforms to
View, and its two properties: the original image, and the badge text - For its body, create a
ZStackthat will contain the original image and stitch the badge text on top of it - Use a
VStackwith aSpacerto push down the badge contents to the lower part of the view - Use
Textto display the badge text, set the font, expand the width to the maximum, add some vertical padding, and finally use a background color for the badge. The order of the modifiers here is extremely important!
Using ImageRenderer
Now that the Icon view exists, it is time to use ImageRenderer to create an image of it. Delete the contents of the applyBadge(text:) function, and paste the code below:
// 1
let icon = Icon(image: self, badgeText: text)
    .frame(width: iconSize, height: iconSize)

// 2
let renderer = ImageRenderer(content: icon)

// 3
return renderer.nsImage
This is what the code above does:
- Initialize the
Iconstruct you just created in the previous section, and set its frame to 1024x1024 (iconSize). - Use the icon to initialize an
ImageRendererinstance. - Return the
NSImagethat the renderer creates from theiconcontents.
Executing the Tool
Now you can run the executable. To make things easier, the starter project already contains the NetNewsWire app icon. Imagine you’re working on a cool feature, named Smart Feed, and want to apply that as a badge.
To execute the tool, open Terminal in the root directory of the project, and run the following command:
swift run badgeify --input icon.png --output badged.png --text "Smart Feed"Notice these are the options that the Badgeify struct defines: input, output, and text.
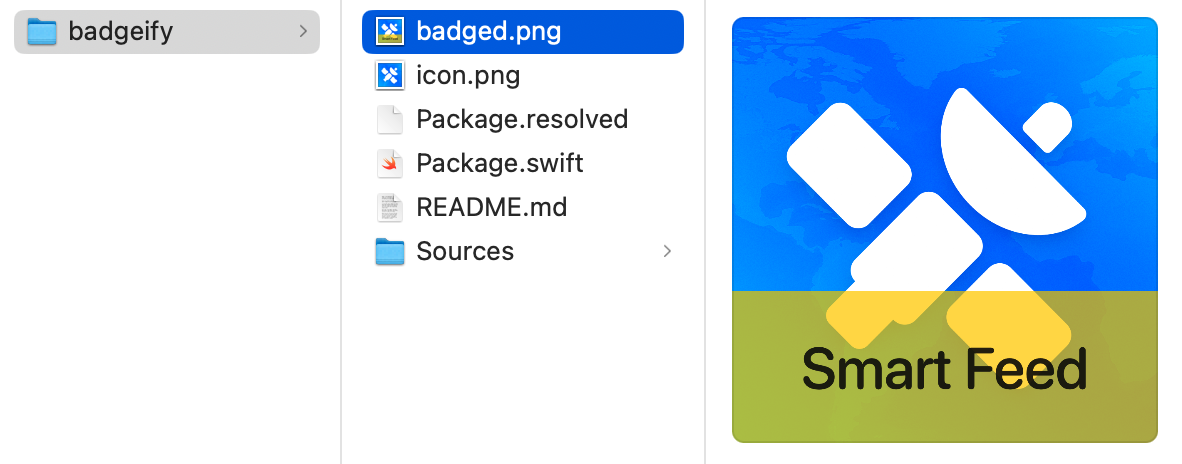
In the first run, it might take a few seconds for SPM to fetch the package dependencies and build them and the executable. After building and running, you’ll notice that the new icon exists at the output path, right next to the original icon:

Limitations
When editing a SwiftUI view, using #Previews have a great value. When editing an SPM executable, Xcode cannot generate previews, as it does when you’re building for macOS or iOS apps.
If you want faster iterations when using SwiftUI for the command line, there is an alternative: you can create a temporary project targeting macOS, and include there your preview and test the different results your views will generate. Although this is not perfect and will require some copy-pasting between the files, it’s still better than the regular write-compile-execute cycle.
Explore Further
I hope you enjoyed this fun article! In case you have any suggestions, comments or questions, reach us at X or Mastodon.
You can checkout the starter and the final sample projects on GitHub.
Here are some things you can do next:
- Make your own customizations to badgeify, such as allowing to customize the text color and the badge background color, or the font
- Add a
@Flagto allow automatically opening the badged image upon generation - Improve badgeify by adding support for different icon sizes (not hardcoded to 1024px) and loading multiple icon sizes from an
.xcassetsfile - Think of other ways to use
ImageRendererand tools it can enable


 Download the starter project to follow along